CLICK HERE TO GO BACK TO STEP 1
STEP 2.| CAMERA SETTINGS
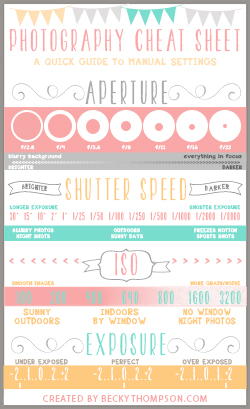
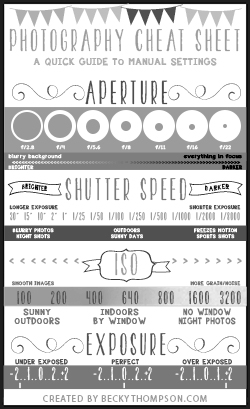
Now that we have decided what sort of lighting we are working with, we can discuss settings. This is a long portion of the post, and photos don’t really help explain it. I do have this graphic you can reference as we go.
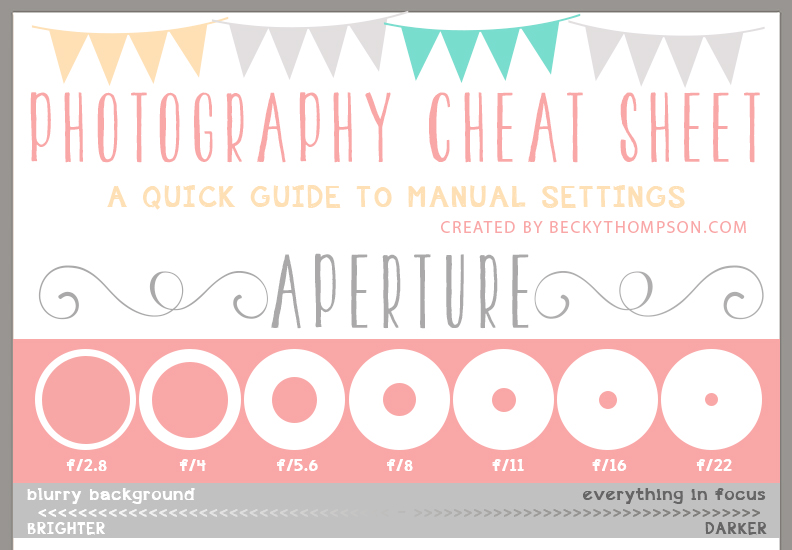
My photography cheat sheet has been called by multiple websites, “One of the best cheat sheets on the internet!” After a ton of requests, I have finally created it in both color and black and white printable versions. You can download a copy for personal use for just $1.30! The PDF is nearly 11″x 18″
 $1.30
$1.30 $2.00
 $1.30
$1.30 $2.00
BEFORE WE MOVE ON, LET’S ADDRESS SOME POTENTIAL PROBLEMS
When you lower the F-stop, or use a small number on aperture priority mode, it can lead to blurry photos. This can be compensated by using a tripod. I realize that most of you reading this likely don’t have a tripod. You can use any solid surface to help steady your camera. Even the seat of a chair works great!
If you take a few test shots, and your subject looks too dark, you can raise your ISO. ISO is a number that represents how sensitive your camera is to light. If you raise your ISO number, it will make your photos brighter. It will also make them grainier. We are not practicing with wiggly toddlers, so we can take as many test shots and change our settings as much as we want! Crank that ISO up, and see if it helps. If it doesn’t, turn on a few more lights and lower your ISO. You can always leave your ISO on auto.
That was a lot of information. Read it a couple times if you need to, but here is a recap. Lowest F-stop number. Raise your ISO. Use something to steady.
CLICK HERE FOR THE FINAL STEP! THE FINAL STEP IS SUPER IMPORTANT